


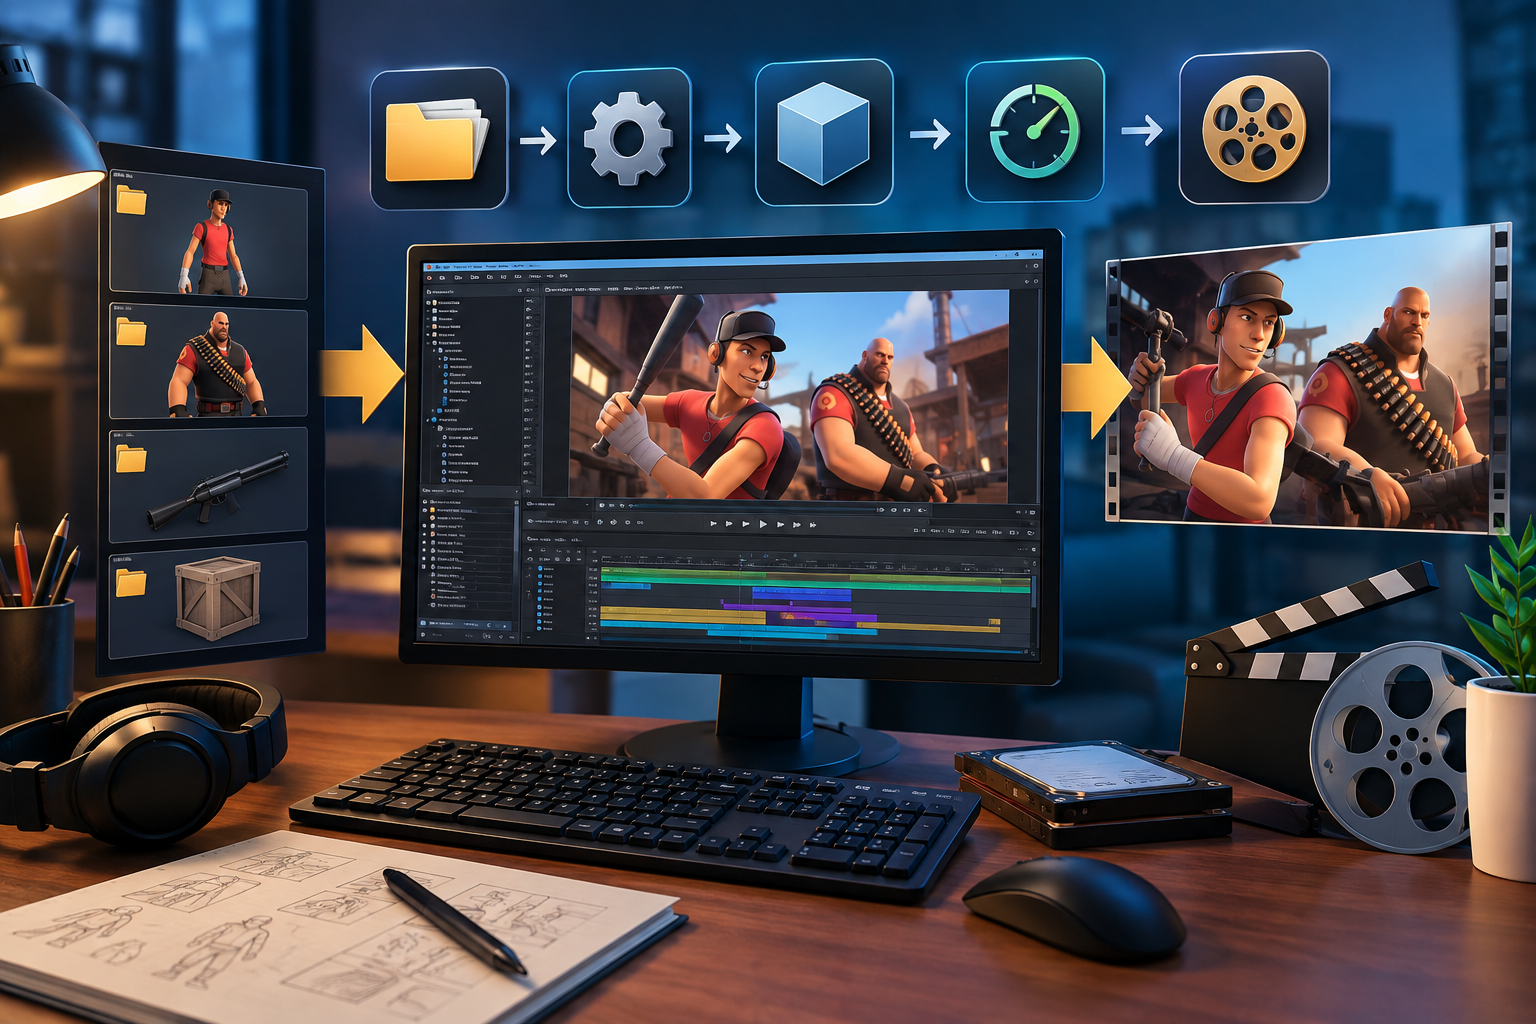
Creating high-quality 3D animations, custom cinematic posters, and visual stories requires a smooth digital pipeline. Source Filmmaker stands as one of the most versatile real-time 3D animation suites available to digital artists, storytellers, and animators. However, working with custom 3D characters, props, environments, and textures within this engine often presents a significant technical hurdle: converting raw assets into usable files that the engine can read, render, and animate smoothly.
This comprehensive guide breaks down the full process of assembling, converting, and finalizing assets for 3D film production. Whether you are setting up custom 3D mesh files, fixing broken material paths, converting raw animation data, or optimizing map files, understanding how these components compile guarantees a stable, error-free creative environment.
1. Fundamentals of Digital Asset Processing in 3D Engines
At its core, compiling is the process of taking editable source files—such as raw 3D mesh geometry, uncompressed bitmap textures, skeleton rigging data, or plain text configuration scripts—and processing them into streamlined binary formats that a rendering engine can load efficiently.
Raw 3D project files, such as FBX, OBJ, or Blender files, contain massive amounts of data designed for human editing. Modern real-time engines do not read these formats directly during playback. Instead, they require specialized, compressed formats structured specifically for fast memory retrieval and graphic processor rendering.
+—————————+ +—————————+ +—————————+
| Raw Source Files | | Compilation Stage | | Engine-Ready Output |
| | | | | |
| * 3D Geometry (.SMD/DMX) | —-> | * QC Script Parsing | —-> | * Binary Model (.MDL) |
| * Textures (.PNG/TGA) | | * Material Compilation | | * Material File (.VMT) |
| * Rigging & Skeleton | | * Collision & Physics | | * Texture File (.VTF) |
+—————————+ +—————————+ +—————————+
When an asset undergoes transformation, three distinct steps occur:
- Validation: The engine checks file structures, coordinate spaces, and material references.
- Translation: Complex high-poly mesh data and bone weights are translated into engine-native array structures.
- Packaging: The output files are saved into specific target folders so the software can index them instantly.
2. Key Tools Required for Asset Preparation
Before starting any project setup, it is essential to equip your workspace with the appropriate software tools. Working without the correct utility programs leads to broken paths, missing textures, and visual glitches.
| Tool Name | Tool Category | Primary Function | Ideal Use Case |
| Crowbar | Asset Manager / Utility | Decompiling, compiling, and managing model packages | Quick asset conversion and error diagnostic logging |
| VTFEdit | Texture Converter | Converts raster image formats into compressed engine textures | Texture map creation, bump mapping, and material flags |
| Blender (with Source Tools) | 3D Modeling Suite | Geometry creation, rigging, UV mapping, and export | Designing custom 3D models and skeleton structures |
| Hammer Editor | Level Generator | Environment construction, lighting placement, and map building | Creating custom stages, scenes, and architectural maps |
| Text Editor (VS Code / Notepad++) | Code / Script Editor | Writing and modifying QC control scripts and VMT files | Adjusting bone hierarchies, attachments, and material paths |
3. Step-by-Step Model Assembly Pipeline
Converting custom 3D characters or props from external software like Blender or Maya into fully functional assets requires a strict, methodical approach.
+———————————————————————————–+
| Asset Creation Pipeline |
| |
| [3D Modeling Software] –> [Export SMD/DMX Files] –> [Write Control QC Script] |
| | |
| v |
| [Engine Workspace] <— [Move Compiled Assets] <— [Run Crowbar Compiler] |
+———————————————————————————–+
Step 1: Exporting Geometry and Rigging Data
In your primary 3D modeling workspace, ensure your character or prop model is scaled properly. Ensure that:
- The model faces forward along the coordinate axis.
- All transforms (position, rotation, scale) are frozen at zero values.
- The mesh is weight-painted properly to a supported bone skeleton.
- UV maps are unwrapped completely without overlapping faces (unless intentional for tiling textures).
Export the mesh data as a Studio Model Data file (.SMD) or a Data Model Exchange file (.DMX). Sfm compile
Step 2: Writing the Control Script (.QC)
The Control Script (.QC) acts as the instruction manual for the compiler. It dictates where the model is stored, what materials it uses, how physics apply, and what animations attach to it.
Here is a standard structure for a model control script:
Plaintext
$modelname “custom_props/scifi_crate.mdl”
$body “body” “scifi_crate_geometry.smd”
$cdmaterials “models/custom_props/scifi_crate/”
$surfaceprop “metal”
$contents “solid”
$sequence “idle” {
“scifi_crate_geometry.smd”
fps 30
loop
}
$collisionmodel “scifi_crate_physics.smd” {
$mass 50.0
$inertia 1.0
$damping 0.00
$rotdamping 0.00
}
Step 3: Running the Toolchain via Crowbar
- Open Crowbar and navigate to the Compile tab.
- Under the input settings, select the QC File option and browse to your written script.
- Set the target game directory path to point directly to your workspace folder (e.g., Steam/steamapps/common/SourceFilmmaker/game/usermod).
- Click the Compile button. Monitor the diagnostic console output log to confirm that no file errors occur during processing.
4. Understanding Material and Texture Compilation
Even if a 3D model processes without error, it will appear with a bright purple-and-black checkerboard pattern inside the viewport if its materials are improperly configured. Fixing this requires a clear understanding of texture compilation and material file paths.
The Two-File Material Architecture
Every material in this engine depends on two separate files working together:
- Valve Texture File (.VTF): The actual image file containing color, alpha channel, specular, or normal map data.
- Valve Material Type (.VMT): A text-based script that tells the rendering engine how to draw the texture (e.g., setting reflections, transparency, illumination, or phong shading).
+—————————————————————————–+
| Material Architecture |
| |
| +———————–+ +————————–+ |
| | Texture File (.VTF) | | Material Script (.VMT) | |
| | * Diffuse Map | —————–> | * Shading Rules | |
| | * Normal Map | Referenced Inside | * Specular/Phong Flags | |
| | * Exponent Map | | * Direct Texture Paths | |
| +———————–+ +————————–+ |
+—————————————————————————–+
Setting Up a Custom Material Script
A typical material script (.VMT) for an advanced character or object looks like this:
Plaintext
“VertexLitGeneric”
{
“$basetexture” “models/custom_props/scifi_crate/crate_diffuse”
“$bumpmap” “models/custom_props/scifi_crate/crate_normal”
“$phong” “1”
“$phongboost” “2”
“$phongexponent” “15”
“$phongfresnelranges” “[0.2 0.5 1]”
“$rimlight” “1”
“$rimlightexponent” “4”
“$rimlightboost” “1”
}
Common Texture Path Checklist
To ensure your materials load reliably every time:
- Verify that $cdmaterials in your .QC script matches the exact folder structure inside your materials/ folder.
- Do not include the .vtf file extension inside the $basetexture or $bumpmap lines of your .VMT script.
- Ensure all texture dimensions are powers of two (e.g., 512×512, 1024×1024, 2048×2048, 4096×4096) before converting them with VTFEdit.
5. Map and Environment Processing Workflow
When custom level stages or outdoor scenes are required for a film production, geometry must be compiled from raw map layout files (.VMF) into playable BSP map binary files (.BSP).
+——————————————————————————-+
| Level Compiling Stages |
| |
| +——————+ +——————-+ +—————–+ |
| | VBSP Stage | –> | VIS Stage | –> | RAD Stage | |
| | Geometry & Solids| | Visibility Leaves | | Lighting & Radiance|
| +——————+ +——————-+ +—————–+ |
+——————————————————————————-+
The level creation toolchain uses three primary calculation stages during compilation:
1. VBSP (Geometry Processing)
This initial stage reads structural brush volume geometry, calculates solid planes, carves out hollow spaces, applies texture coordinates, and places static props within the world grid.
2. VIS (Visibility Calculations)
VIS calculates visibility leaves throughout the environment. It determines what geometry is visible from any given point in space. Proper VIS processing prevents the software from rendering invisible objects behind walls, maintaining high viewport framerates during rendering.
3. VRAD (Lighting and Radiance Calculation)
VRAD calculates direct lighting, bounce lighting, ambient color tinting, shadow hardness, and specular reflection maps across all surface geometry. For cinematic projects, running VRAD on “Final” settings produces smooth shadow transitions and soft indirect bounce illumination.
6. Common Asset Conversion Errors and Solutions
During asset processing, technical errors are common. The table below lists frequent build errors, their root causes, and how to resolve them quickly:
| Error Message / Issue | Direct Cause | Step-by-Step Resolution |
| ERROR: Too many materials on model | The 3D mesh references more material IDs than the engine limit allows. | Merge materials in your 3D editor (Blender) to combine texture maps into a single UV atlas. |
| Missing Texture (Checkerboard pattern) | The engine cannot find the .VMT file, or the .VMT points to a missing .VTF path. | Check the $cdmaterials path in the .QC script. Ensure the folder directory matches the exact disk location. |
| Costly collision model… Warning | The physics mesh geometry is too complex or non-convex. | Create a simplified, low-polygon convex shape to use as the $collisionmodel inside the .QC script. |
| Model Appears Wireframe or Invisible | The vertex format is invalid or bone weighting is missing completely. | Ensure every vertex is assigned to at least one bone in your 3D software before exporting .SMD files. |
| BAD TRANSFORM or Broken Bones | Bone rotation angles exceed limits or scale settings were not applied. | Apply all transformations (Ctrl+A in Blender) and re-export the armature data. |
7. Advanced Optimization Techniques for Visual Productions
To achieve maximum visual output and seamless real-time playback, asset preparation must balance graphical detail with pipeline performance. Applying the following optimization rules ensures high quality without system lag:
+—————————————————————————–+
| Optimization Best Practices Checklist |
| |
| [x] Geometry Decimation -> Keep polygon counts within engine limits |
| [x] Texture Channel Packing -> Combine Roughness/Metalness into single VTF |
| [x] LOD Hierarchy Setup -> Reduce detail for distant background props |
| [x] Shadow Masking -> Disable shadow generation on tiny details |
+—————————————————————————–+
Polygon Budgeting
While modern graphics cards can handle large scenes, keeping individual prop polygon counts between 5,000 and 40,000 triangles ensures high viewport performance. Main hero characters can range from 40,000 to 100,000 triangles if necessary for detailed facial expressions and clothing folds.
Level of Detail ($lod) Implementation
Include Levels of Detail ($lod) inside your .QC script for complex characters or detailed background elements. This instructs the engine to swap out detailed meshes for simpler geometry when the camera moves far away:
Plaintext
$lod 20
{
replacemodel “hero_character_high.smd” “hero_character_lod1.smd”
}
$lod 50
{
replacemodel “hero_character_high.smd” “hero_character_lod2.smd”
}
Efficient Texture Channel Packing
Instead of loading separate monochrome image files for roughness, metallicness, specular highlights, and ambient occlusion, combine these grayscale maps into individual color channels (Red, Green, Blue, Alpha) of a single texture map. This channel-packing technique reduces overall file sizes, cuts loading times in half, and minimizes memory consumption during final sequence rendering.
8. Summary Checklist for Successful Asset Conversion
Follow this final checklist every time you prepare, process, and test assets for your creative projects:
- Clean Geometry: Ensure zero scale transforms, clean UVs, and valid bone weight assignments.
- Proper File Hierarchy: Store source files (.SMD, .DMX, .QC) in dedicated working folders, separate from final compiled output folders.
- Correct Control Scripts: Verify script commands, material folder references, and model path names.
- Validated Material File Paths: Confirm .VMT text scripts correctly reference matching .VTF texture binaries.
- Clean Engine Compilation: Run Crowbar compiler tools and confirm zero critical errors exist in the build output log.
- Viewport Verification: Load the finished asset into your project scene, test bones, verify light responses, and confirm high visual fidelity.
By mastering this complete asset pipeline, you can reliably import custom content, eliminate technical render errors, and produce professional-grade 3D visual media.
