


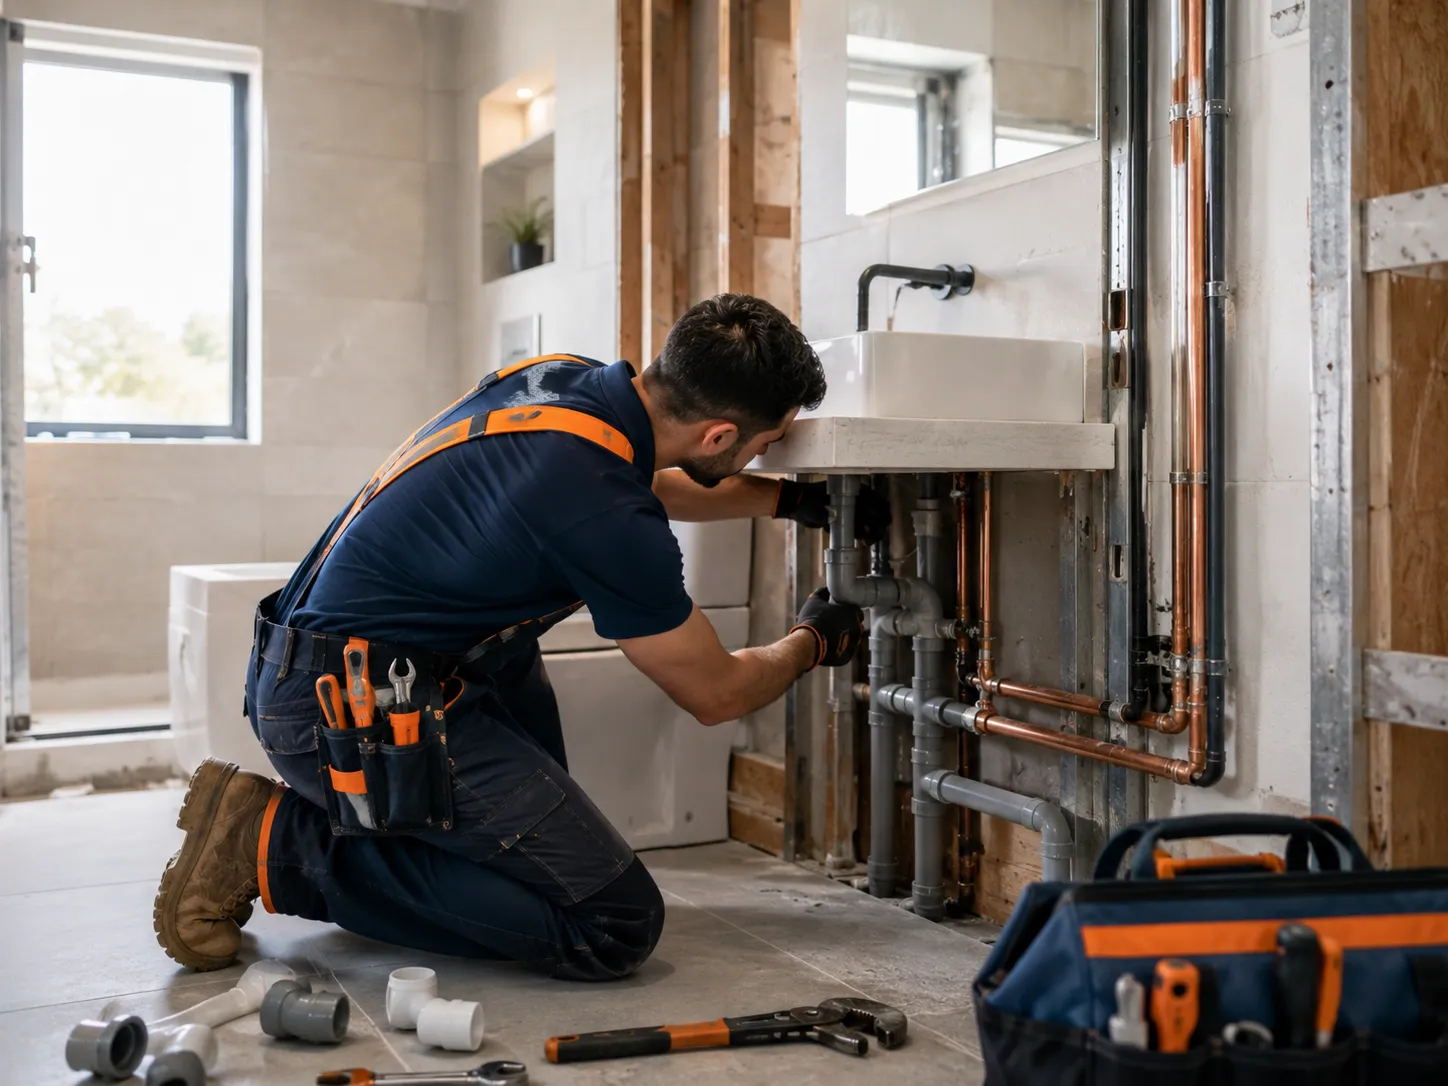
Setting up utilities for a new home, commercial space, or renovated building can feel overwhelming. Among power, water, and internet setup, getting a new gas pipeline connection often raises the most questions. Because gas infrastructure involves strict safety standards, legal compliance, and municipal approvals, knowing what steps to take beforehand saves significant time and unnecessary stress.
Whether you are building a house from scratch, upgrading your appliances, or switching from portable gas cylinders to a continuous natural gas supply, this guide covers everything you need to know to get connected quickly and smoothly.
Why Connect to a Natural Gas Pipeline?
Before diving into the setup procedure, it helps to understand why connecting to a continuous pipeline is one of the best choices for modern households and commercial properties:
- Uninterrupted Supply: No more running out of gas mid-cooking or worrying about replacing physical cylinders.
- Cost Efficiency: Natural gas delivered via main pipelines generally costs significantly less per unit than LPG cylinders or high-drain electrical heating.
- Space-Saving & Clean: Eliminates bulky storage tanks and reduces indoor air pollution compared to older heating solutions.
- Higher Property Value: Modern homebuyers expect integrated utility lines already installed and functional.
Step-by-Step Process to Get a New Gas Pipeline Connection
While exact details vary slightly based on your local utility provider and municipality, the core journey follows a standardized path across most regions.
Step 1: Check Availability and Coverage
The first step is verifying whether a main distribution line runs down your street or neighborhood.
- Call your local natural gas distribution company or visit their online portal.
- Enter your street address or postal code to check connection eligibility.
- If a main line exists, your property can usually be connected via a simple service line extension. If the nearest main line is far away, the provider will calculate the main-extension cost required to reach your boundary.
Step 2: Submit an Official Application
Once availability is confirmed, you will need to submit a formal application for a new connection.
- Fill out the utility service request form (available online or at local customer service centers).
- Select your property type (Residential, Commercial, or Industrial).
- Declare your anticipated load requirements (e.g., standard kitchen stove only vs. full home heating, water heaters, and fireplace).
Step 3: Site Inspection and Technical Assessment
After receiving your application, the utility company schedules a technician or engineer to inspect your property.
- Work Performed: The inspector assesses the main line distance, determines the safest entry point for the pipe, and locates the future position for your gas meter.
- Cost Estimate: Based on this visit, the company issues a official estimate detailing connection fees, trenching costs, meter installation charges, and security deposits.
Step 4: Pay Required Fees and Security Deposit
To move your application into the active installation queue, clear all outlined installation fees and security deposits. Most utility companies offer payment via online portals, bank transfers, or physical service hubs.
Step 5: External Trenching & Main Line Connection
With payments cleared, certified utility contractors carry out the external connection:
- Trenching from the street main to your property boundary line.
- Laying high-density underground piping.
- Installing an external pressure regulator and gas meter box.
Step 6: Internal Piping and Safety Certification
Utility companies generally bring the gas line up to your meter box outside. Everything from the meter into your home (internal plumbing) must be installed by a licensed gas fitter or certified plumber.
- The licensed plumber installs indoor pipes, safety valves, and appliance connection points.
- They perform a pressure test to guarantee there are zero leaks.
- Upon success, they issue a formal Certificate of Compliance, which you must submit to the gas company.
Step 7: Final Meter Activation and Appliance Hookup
Once the internal compliance certificate is logged, a utility technician visits your property to turn on the main valve, purged the lines, double-check connections, and ignite your appliances for the first time.
how can i get a new gas pipeline connection? what should i do to make the process easier?
Documents Required for Your Application
To ensure your paperwork moves through administrative channels without friction, gather these standard documents in advance:
| Document Category | Specific Requirements | Purpose |
| Proof of Identity | Government ID, Driver’s License, or Passport | Confirms applicant credentials |
| Proof of Ownership / Tenancy | Property deed, tax receipt, or signed lease agreement | Proves authority to alter property utilities |
| Property Layout / Site Plan | Blueprint or simple sketch showing building boundaries | Helps engineers plan line routing |
| Plumbing Compliance Certificate | Signed by a licensed gas fitter | Verifies internal piping safety |
| No-Objection Certificate (NOC) | Required if renting or in a multi-unit HOA | Confirms landlord/HOA approval |
Proactive Steps to Make the Connection Process Faster & Easier
Waiting weeks or months for utility approvals can delay move-in dates or commercial launches. Follow these practical tips to streamline the journey:
1. Hire a Certified Gas Fitter Early
Do not wait until the main line is laid to think about your interior piping. Hire a licensed gas plumber right at the start. They can run internal lines concurrently while the utility company processes paperwork, making your property ready for instant activation the moment the meter is set.
2. Pre-Determine Appliance Locations & Load Requirements
Changing your mind about where the stove, boiler, or furnace belongs halfway through installation causes costly re-work. Map out exact appliance positions early so your plumber calculates correct pipe diameters for proper gas pressure.
3. Clear the Installation Route
Make sure the path between the street main, your property boundary, and the meter location is clear of debris, overgrown tree roots, or temporary structures. Easy physical access allows work crews to complete trenching in hours rather than days.
4. Secure Municipal Permits In Advance
If the main line extension requires digging up a public sidewalk, paved road, or shared lane, municipal road-opening permits will be needed. Confirm whether your utility provider handles road permits or if you must request approval from your city council beforehand.
5. Double-Check Application Details
A simple typo in an address, contact number, or property tax identifier can stall applications in administrative review queues. Verify every field before submitting.
Essential Safety Standards to Keep in Mind
Gas systems are engineered with high safety margins, but maintaining safety protocols remains essential throughout installation:
- Never Attempt DIY Connections: Always rely on licensed professionals. Uncertified work is illegal in almost every jurisdiction and voids property insurance.
- Optimal Meter Location: Gas meters should sit in well-ventilated exterior spots away from electrical sub-boxes, direct ignition sources, or high-traffic driveway zones.
- Install Carbon Monoxide & Gas Leak Detectors: Once your pipeline goes live, mount electronic gas detectors near indoor appliances for 24/7 peace of mind.
Summary Checklist for Property Owners
To keep your project moving smoothly, keep this quick operational sequence in mind:
- Verify Coverage $\rightarrow$ Check street line availability.
- Submit Application $\rightarrow$ Provide ID, property proof, and site details.
- Site Inspection $\rightarrow$ Receive formal technical cost estimate.
- Pay Fees $\rightarrow$ Settle connection charges and security deposit.
- Install Interior Plumbing $\rightarrow$ Hire certified gas plumber & get safety certificate.
- Main Service Laying $\rightarrow$ Utility crew connects main line to meter.
- Final Turn-On $\rightarrow$ System purged, tested, and activated.
By organizing your documentation early, working with certified professionals, and maintaining clear communication with your local utility provider, you can secure your new gas pipeline connection quickly, safely, and without unexpected costs.
